Mastering ControlNet for Strong and Robust Tails
Why Focus on Tails?
Tails are a signature feature in furry art, but they’re often occluded, awkward, or lack dynamism in AI generations. With NoobAI and ControlNet, you can guide tail position, flow, and anatomy for more expressive, believable results. This guide shows you how, with a visual workflow and practical tips.
Downloads
- OpenPose ControlNet for NoobAI: Download from CivitAI
- NoobAI IPAdapter (noob-ipa-mark1): Download from CivitAI
- NoobAI XL VPred Base Model: Download from HuggingFace
- All NoobAI SDXL ControlNets: View the full collection on HuggingFace
Step-by-Step Workflow
- Load the base model and LoRAs: Stack your main model and LoRAs for style and anatomy.
- Set up ControlNet: Use OpenPose or a custom control image to define the tail’s pose and flow.
- Prompt engineering: Use clear descriptors for tail position (e.g.,
tail raised,tail curled,dynamic tail). - Conditioning: Encode positive and negative prompts for fine control.
- Advanced denoising: Use split denoising and detail samplers for sharper, more expressive results.
- Post-processing: Upscale and crop as needed for your final output.
Prompting Guide
- Combine pose descriptors:
side view,tail raised,tail curled, etc. - Adjust ControlNet strength to balance between following the control image and prompt creativity.
- Use negative prompts to avoid unwanted anatomy or occlusion.
Example Prompt
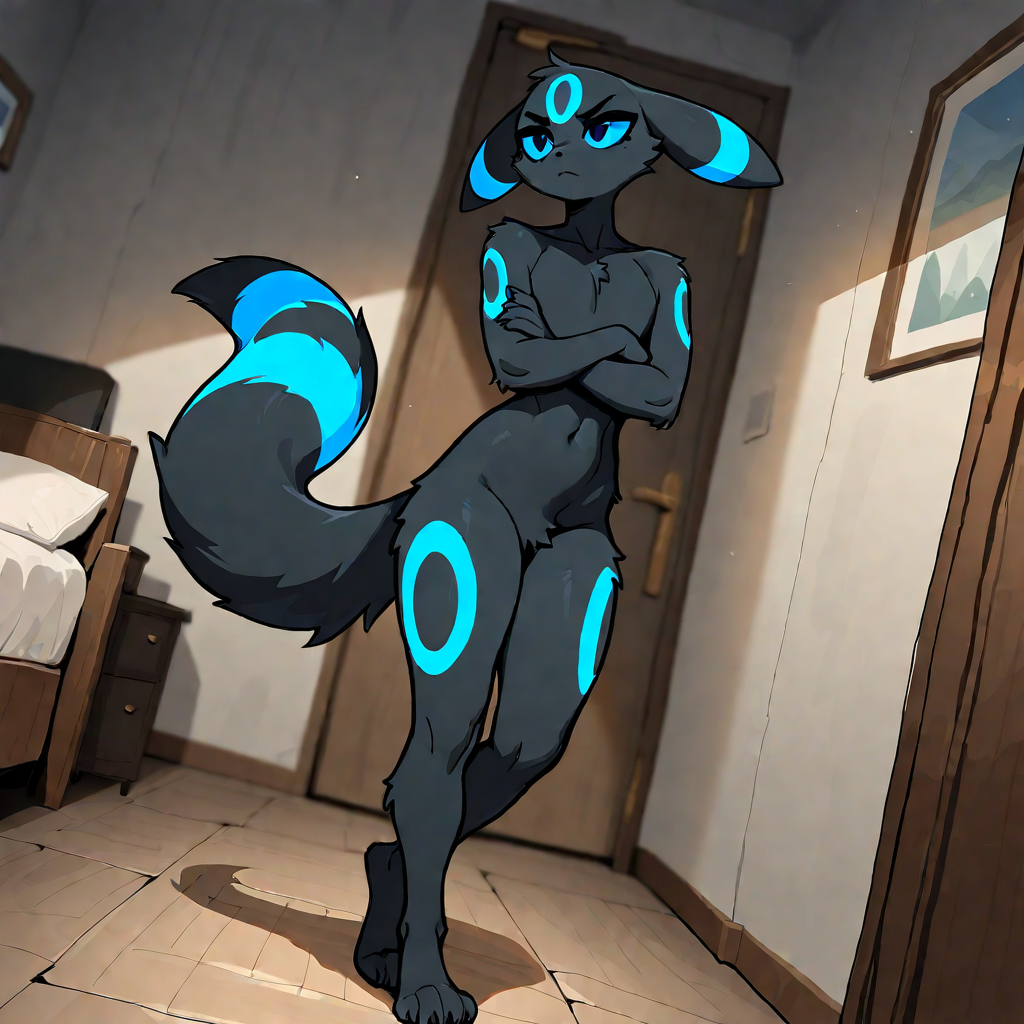
masterpiece, best quality, newest, absurdres, highres, nsfw, anthro, full-length portrait, male, umbreon, blue sclera, blue markings, black fur, furniture, detailed background, standing, canine genitalia
Example Negative Prompt
feral, semi-anthro, worst quality, old, early, low quality, lowres, signature, username, logo, bad hands, mutated hands, mammal, ambiguous form, female, medium breasts, motion lines, chromatic aberration, young, chibi
Example Outputs
Here are some results using the above workflow and prompts:

Visual Workflow
Below is a high-level diagram of the advanced ComfyUI workflow for tail-focused ControlNet in NoobAI. This setup combines model loading, LoRA stacking, ControlNet conditioning, and advanced denoising for maximum control and quality.
flowchart TD
    A["CheckpointLoaderSimple
Load NoobAI XL VPred Model"] --> B["LoraLoader
Load LoRA (fd-v1s2800)"]
    B --> C["LoraLoaderBlockWeight
Load LoRA (momowaaai-v2s2000)"]
    C --> D["PerturbedAttention
(Optional: Enhance Attention)"]
    D --> E["PatchModelAddDownscale_v2
(Optional: Downscale Patch)"]
    E --> F["ModelSamplingDiscrete
Set V-Prediction"]
    F --> G["CFGGuider (Low CFG)"]
    F --> H["CFGGuider (High CFG)"]
    G --> I["SamplerEulerAncestral
(Base Sampler)"]
    H --> J["DetailDaemonSamplerNode
(Detail Sampler)"]
    I --> K["SplitSigmasDenoise
Split Sigmas"]
    K --> L["SplitAtSigma
Split at Sigma"]
    L --> M["SamplerCustomAdvanced
(Base Denoising)"]
    J --> N["SamplerCustomAdvanced
(Detail Denoising)"]
    M --> O["SamplerCustomAdvanced
(Merge Outputs)"]
    N --> O
    O --> P["VAEDecode
Decode Latent to Image"]
    P --> R["ImpactImageInfo
Get Image Info"]
    P --> S["SaveImage
Save Output"]
    R --> T["IntMathOperation
Calculate Crop Width"]
    R --> U["IntMathOperation
Calculate Crop Height"]
    T --> V["ETN_CropImage
Crop Image"]
    U --> V
    V --> W["SaveImage
Save Cropped Output"]
    subgraph ControlNet
        CN1["ControlNetLoader
Load OpenPose ControlNet"] --> CN2["SetUnionControlNetType
Set Type: openpose"]
        CN2 --> CN3["LoadImage
Load Control Image"]
        CN3 --> CN4["ControlNetApplyAdvanced
Apply ControlNet"]
        CN4 --> G
        CN4 --> H
    end
    subgraph Conditioning
        TXT1["CLIPTextEncode
Positive Prompt"] --> CN4
        TXT2["CLIPTextEncode
Negative Prompt"] --> CN4
    end
    F --> G
    F --> H
    G --> M
    H --> N
    P --> R
    P --> S
    V --> W
Detailed Workflow Explanation
This section breaks down the advanced ComfyUI workflow for tail-focused ControlNet in NoobAI, highlighting how split sigmas and ControlNet setup work together for maximum control and detail.
1. Model and LoRA Loading
- CheckpointLoaderSimple loads the NoobAI XL VPred base model.
- LoraLoader and LoraLoaderBlockWeight stack LoRAs for style and anatomy.
2. ControlNet Setup
- ControlNetLoader loads the OpenPose ControlNet model (e.g.,
openpose_noob_pre.safetensors). - SetUnionControlNetType sets the type to
openpose, ensuring the network interprets the control image as pose data. - LoadImage brings in your custom pose/control image (e.g., a tail pose sketch).
- ControlNetApplyAdvanced applies the ControlNet to the workflow, conditioning both the positive and negative prompts with the control image. You can adjust:
- Strength: How strongly the control image influences the result.
- Start/End Percent: When in the denoising process the control is active (e.g., from 0% to 100% for full influence).
3. Prompt Conditioning
- CLIPTextEncode encodes both positive and negative prompts, which are then passed through ControlNet for conditioning.
4. Denoising and Split Sigmas
- KarrasScheduler generates the sigma schedule (noise levels) for the denoising process.
- SplitSigmasDenoise splits the sigma schedule into high and low ranges, allowing for different processing at different noise levels.
- SplitAtSigma further divides the sigmas at a specific value (e.g., 7), creating two branches:
- Base Denoising: Handles the initial, high-noise part of the process.
- Detail Denoising: Focuses on the later, low-noise steps for fine details.
- SamplerEulerAncestral and DetailDaemonSamplerNode are used as samplers for these branches, with the latter providing extra detail enhancement.
- CFGGuider is used twice, with different CFG (classifier-free guidance) scales for base and detail branches, allowing for more creative or more controlled results as needed.
5. Merging and Decoding
- SamplerCustomAdvanced nodes process each branch, and their outputs are merged for the final latent image.
- VAEDecode decodes the latent into an image.
6. Post-Processing
- ImpactImageInfo and IntMathOperation nodes calculate crop dimensions.
- ETN_CropImage crops the image to the desired aspect ratio.
- SaveImage nodes save both the upscaled and cropped outputs.
Why Split Sigmas?
Splitting the sigma schedule allows you to:
- Apply different samplers or settings to different parts of the denoising process.
- Use a detail-oriented sampler (like DetailDaemon) for the final steps.
- Maintain strong structure from the control image early on, then add creative and detailed touches later.
Why This ControlNet Setup?
- Using OpenPose with a custom tail pose image gives you direct control over tail position and flow.
- The advanced application node lets you fine-tune how and when the control image influences the generation, so you can avoid over-constraining the image or losing creative detail.